Taking a hiking selfie is all about finding the right balance between getting a great shot of yourself and your surroundings. It’s something you may suck at, but it can definitely improve with practice. Here are some tips and tricks to help you take the best hiking selfies:
Why Take A Hiking Selfie?
All about the ‘gram.
JkJk, but actually kinda.
Taking a selfie is mostly about showing your friends and/or followers where you are or where you have been. Maybe a little bit of showing off but also maybe to generate conversation.
A lot of brands use selfies to help connect more with the viewer. Showing there’s an actual person behind the social media account. Especially for photographers where all they do is post beautiful landscape images. It adds a human touch.
Here Are A Few Tips & Tricks
All About Those Angles & Positioning
Selfies start with the correct angles. Not too close, not too far. A little bit of background, but not too much.
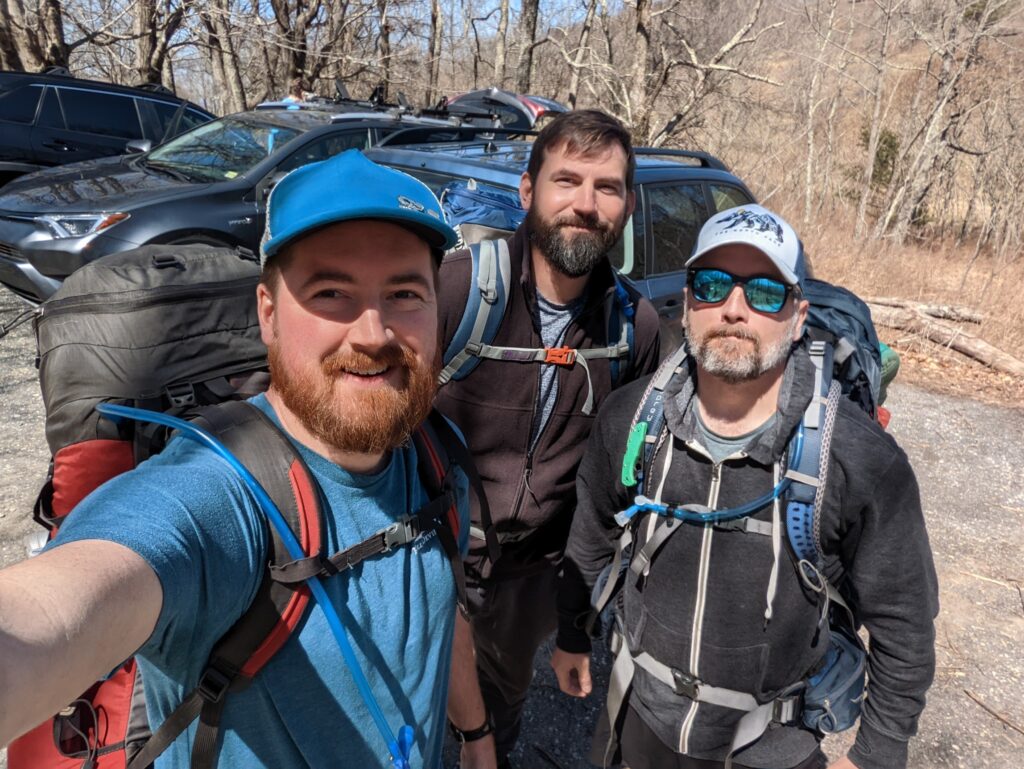
I tend to start with the camera arm’s length out. Directly in front of my face. Then raise my arm up as needed. If I’m taking a big group selfie, the arm definitely goes up a bunch.
Positioning can be pretty obvious here. Just include whatever beautiful views of the hike you wish to include. Switch it up, and try a few different spots.
But don’t let that ruin your hike, taking 50 selfie pics shifts your focus away from the views and the experience of being out there in the first place. I try not to be the selfie initiator but as a landscape photographer, sometimes the group automatically votes for me as the selfie guy. So I just go with it
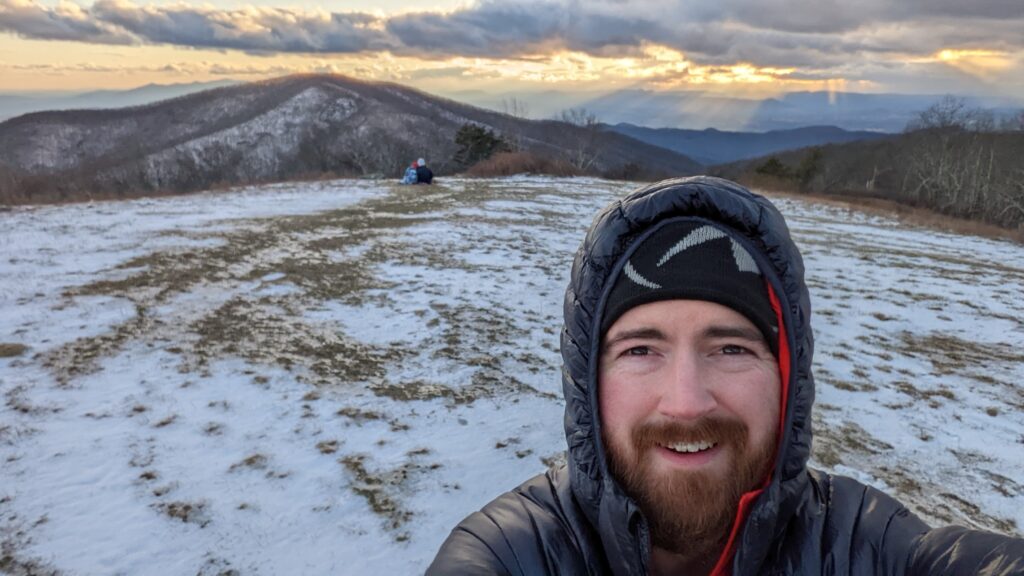
Pro-tip: If you really want to get fancy, include leading lines in the image. Your face will obviously be front and center here. But if you’re out on a trail or maybe the Blue Ridge Parkway during sunrise, position yourself in a way that the lines of the trail lead directly to your face.

How ‘Bout That Lighting?
Lighting matters here. And luckily with smartphones nowadays, you can see what the picture will look like when using the selfie camera.
If you try to take a hiking selfie with the sun behind you/in the shot, there’s a good chance the lighting will be no good. Because the scene has too much contrast, the camera might not be able to determine whether to pull light from the subject (you) or the background (beautiful sun & landscape).
Some camera phones will likely be able to pick out your face and adjust the lighting as needed but others won’t be able to. Help it out a bit, and try tapping on your face as the focal point. The camera phone might adjust then.
If it can’t quite get the lighting right, then you might have to spin around or try a different angle to eliminate the glare or contrasting scene.
But if you’ve already taken the image, use an image editor like Snapseed or Lightroom Mobile. AutoCorrect may fix the image. But if that doesn’t quite do it, play around with the Brightness, Shadows, and Highlights sliders to see if that fixes your image.
Watch Your Surroundings
When taking the selfie be sure to be aware of your surroundings. Don’t keep stepping back for that epic shot and step right off a cliff. In Virginia, McAfee Knob is a popular selfie spot, but also quite dangerous if you’re not keeping an eye out for your step.
Use Portrait Mode
Portrait Mode is a great way to mimic fancy camera and lens settings. It blurs the background and magically adds what is known as bokeh. Helping the subject (aka you) stand out more.
However, Portrait Mode might not work best for group pics. As the setting generally picks out a single face to help stand out.
If you’re trying to use Portrait Mode for groups, try to have everyone on the same plane. Faces pretty much even and side by side. This will increase the chance of the smartphone camera being able to apply the setting to everyone and not have someone blurred out.
Necessary Gear?
Most of the time, you just need a smartphone with a selfie camera. Which is pretty much a guarantee nowadays. Play with the zoom levels of the selfie camera. If yours doesn’t get wide enough for group shots, you may want to consider getting a selfie stick.
If you want to take super selfies or maybe you already have some nice photography gear. Try your luck using a DLSR or mirrorless camera with a wide-angle lens to take the pic.
But I wouldn’t really suggest getting a fancy camera and lens simply to take better selfies. I have mine because I’m a landscape photographer and run a small photography business. They can get pretty expensive.
Using Fancy Cameras For A Hiking Selfie
The Blue Ridge Parkway image above was taken with a Nikon D750 camera & Nikon 24mm f/1.8 lens. Even though the scene was pretty contrasty, with the bright sunrise behind me, the camera still captured all the details.
But there’s a little more to that image.
The D750 doesn’t have a flip-out or selfie screen so I had to set my focus point to manual and pretty much guesstimate where to properly aim the camera for how I wanted the shot to come out.
I also shot in RAW, which is a format fancy cameras use to capture more details in the image. The image ends up taking up a lot of space on memory cards but is well worth it for landscape images.
I then used Lightroom on my computer to adjust the Brightness, Highlights, and Shadows among a few other tweaks to help bring the image together.
The lens I chose also allowed me to get that beautiful bokeh in the background, which, along with the leading lines, allowed my selfie to really pop.
But this setup also costs a solid $2500 new, so take that into consideration.
One Last Tip
Most current smartphones allow you to shoot in the RAW format I mentioned in the previous paragraph.
This gives you more wiggle room to edit the photo if the photo didn’t quite turn out how you were hoping.
Both Apple & Android’s RAW format can be turned on via the phones Settings menu. However, this format does require specific software like Snapseed to actually edit the file.
The RAW format in these phones will also not work in combination with the Portrait mode setting. But you’ll be able to add that setting when editing.